Self-Hosted PaaS Guide: Coolify Review (2026) & Setup
⚡ Executive Summary
Self-hosted PaaS solutions like Coolify eliminate cloud taxes. Learn how to deploy your own platform to save costs and regain server sovereignty today.
Disclaimer: This review is based on publicly available information, including official documentation, pricing pages, and public repositories; it is not based on laboratory benchmarks or first-person installation tests.
Overview: What is Coolify and Why is it Trending? #
Coolify is an open-source, self-hosted PaaS designed to bridge the gap between the extreme simplicity of managed platforms like Heroku or Netlify and the absolute control of managing your own VPS (Virtual Private Server). In an era where "cloud exit" strategies and cost optimization are becoming priorities for developers, Coolify has trended as a primary solution for those who want a "push-to-deploy" experience without the recurring monthly "platform tax" associated with proprietary cloud providers.
At its core, Coolify acts as an orchestration layer that sits on top of your own servers. It leverages Docker to containerize applications, manages reverse proxies for traffic routing, and automates the tedious aspects of server administration—such as SSL certificate issuance and Git-based deployment pipelines. Instead of manually SSH-ing into a server to pull a repo, build an image, and restart a service, Coolify provides a centralized dashboard to handle these operations across one or multiple servers.
What is a self-hosted PaaS? #
A self-hosted PaaS (Platform-as-a-Service) is a software layer installed on your own infrastructure that provides the automated deployment, scaling, and management features of a cloud platform. It allows developers to deploy applications via Git pushes while maintaining full ownership of the underlying hardware, data, and server configurations.
Key Technical Specifications & Fast Facts #
| Specification | Detail |
|---|---|
| License | Open Source (Apache 2.0) |
| Hosting Type | Self-Hosted (On-premise or VPS) |
| Free Tier Availability | Yes (Self-hosted version is free) |
| API Access | Yes |
| Supported Platforms | Any Linux server with Docker installed |
| Primary Engine | Docker / Nixpacks / Buildpacks |
In-Depth Feature Breakdown & Real-World Use Cases #
Coolify is more than just a deployment script; it is a comprehensive management suite. To understand its utility, we must analyze the technical mechanisms behind its primary features.
1. One-Click Deployments & Git Integration #
The hallmark of the "Heroku experience" is the ability to link a GitHub or GitLab repository and have the application deploy automatically upon a push to the main branch. Coolify achieves this by utilizing webhooks and build-packs (like Nixpacks).
Practical Workflow:
- Connection: The user connects their GitHub account via an OAuth app or Personal Access Token.
- Configuration: The user selects a repository and defines the build command (e.g.,
npm run build) and start command (e.g.,npm start). - Automation: When a developer pushes code to the repository, GitHub sends a webhook to the Coolify instance. Coolify pulls the latest code, builds a new Docker image, stops the old container, and starts the new one with zero or minimal downtime.
This workflow is particularly powerful when paired with modern high-performance runtimes. For instance, if you are deploying a project using a high-speed environment—similar to the optimizations discussed in our JS Runtime Review: Is Bun the Fastest Choice for 2026?—Coolify can manage the containerization of that runtime without requiring the developer to write complex Dockerfiles from scratch.
2. Automatic SSL and Reverse Proxy Management #
One of the most daunting tasks for developers moving to a self-hosted PaaS model is managing Nginx or Caddy configurations and renewing Let's Encrypt certificates. Coolify abstracts this entirely.
Technical Execution:
Coolify integrates a reverse proxy (typically Traefik) that automatically detects new containers. When a user assigns a domain (e.g., api.myapp.com) to a service in the dashboard, Coolify:
- Updates the proxy configuration to route traffic from that domain to the specific container port.
- Communicates with Let's Encrypt to generate and renew an SSL certificate automatically.
- Handles the HTTPS redirection.
3. Multi-Server Management #
Unlike simpler tools that only manage the local host, Coolify allows for the management of multiple remote servers from a single control panel.
Use Case:
A developer may have a small "Management Server" running the Coolify dashboard, but deploy their actual production database to a high-RAM server and their frontend to a geographically distributed VPS. By adding these servers via SSH keys, the Coolify dashboard becomes a "single pane of glass" for the entire infrastructure, allowing the user to deploy services to different nodes without leaving the UI.
4. Database & Service Templates #
Coolify provides a library of "one-click" services. Instead of manually installing PostgreSQL, Redis, or Meilisearch, users can deploy these as managed containers. This is an excellent alternative for those who find managed database services too expensive but find manual installation too risky. For those seeking a fully managed alternative for their data layer, our Supabase Review (2026): The Best Backend as a Service for provides a comparison of the managed vs. self-hosted trade-off.
Technical Implementation: Step-by-Step Guide #
To successfully implement this self-hosted PaaS, you must follow a specific sequence of infrastructure preparation and software configuration.
Phase 1: Server Hardening and Preparation #
Before running the installation script, the host environment must be optimized.
- OS Selection: Ubuntu 22.04 LTS is the gold standard for compatibility.
- Firewall Configuration: You must open ports 80 (HTTP), 443 (HTTPS), and 8000 (Coolify Dashboard).
- Resource Allocation: For a basic setup, 2GB of RAM is the minimum; however, 4GB is recommended if you intend to build Docker images on the same machine where the apps run.
Phase 2: Installation and Initial Boot #
The installation is handled via a streamlined curl script found on the official Coolify website.
- Execution: Run the installation command. This script detects your OS, installs the latest stable version of Docker, and pulls the Coolify engine images.
- Dashboard Access: Navigate to
http://your-server-ip:8000. - Admin Setup: Create the primary administrator account. This account has full root-level access to the orchestration layer.
Phase 3: Resource Deployment and Configuration #
Once the dashboard is live, the deployment of a production application follows these technical steps:
- SSH Key Exchange: If deploying to a remote server, generate an SSH key in the Coolify dashboard and add the public key to the remote server's
authorized_keysfile. - Build Pack Selection: Choose between Nixpacks (automatic detection), Dockerfiles (full control), or Static sites.
- Environment Variable Mapping: Define
.envvariables within the UI. Coolify injects these into the container at runtime, ensuring secrets are not stored in the Git repository.
Objective Pros & Cons Matrix #
| Pros | Cons |
|---|---|
| Cost Efficiency: Eliminates monthly PaaS fees; you only pay for the raw VPS. | Management Overhead: You are responsible for server backups, OS updates, and security patches. |
| Vendor Lock-in Avoidance: Since it uses Docker, moving your app to another provider is trivial. | Resource Consumption: The Coolify dashboard and proxy consume a baseline of RAM/CPU on the host. |
| Unified Dashboard: Manage multiple servers and databases from one interface. | Learning Curve: Requires a basic understanding of DNS and SSH. |
| Rapid Prototyping: Extremely fast transition from "code" to "live URL". | Stability Risks: Being open-source and rapidly evolving, updates can occasionally introduce regressions. |
Coolify vs. Alternatives: The self-hosted PaaS Landscape #
When choosing a self-hosted PaaS, the decision usually comes down to the interface preference and the scale of the infrastructure.
| Feature | Coolify | Dokku | Railway |
|---|---|---|---|
| Interface | Full Web GUI | CLI-based | Full Web GUI |
| Hosting | Self-Hosted | Self-Hosted | Managed Cloud |
| Setup Speed | Fast (Scripted) | Moderate (Manual) | Instant |
| Pricing | Free (Self-hosted) | Free (Self-hosted) | Usage-based (Paid) |
| Multi-Server | Native Support | Limited/Complex | Native (Managed) |
| Best For | Devs wanting a GUI for their own VPS | Minimalists who prefer CLI | Teams wanting zero-ops |
Pricing Tiers & Value Assessment #
Coolify operates primarily as an open-source project. The self-hosted version is free, meaning the "cost" is simply the price of the VPS you choose (e.g., Hetzner, DigitalOcean, or Linode). You can verify the current licensing and support options on the official pricing page.
For the vast majority of independent developers and small teams, the self-hosted version provides 100% of the necessary functionality. The value proposition is immense: you are essentially replacing a $20–$100/month PaaS bill with a $5–$10/month VPS bill.
Frequently Asked Questions #
Do I need to know Docker to use Coolify? #
No, but it helps. Coolify handles the Docker commands behind the scenes. However, understanding how containers work will help you troubleshoot issues related to volume persistence or networking, especially when managing persistent data for databases.
Is Coolify secure for production use? #
Coolify provides the tools (SSL, Firewalls, SSH keys), but security is the responsibility of the server owner. Unlike Railway or Heroku, there is no "platform team" managing the underlying OS security for you. You must handle your own kernel updates.
Can I migrate from Heroku to Coolify? #
Yes. Since most Heroku apps use buildpacks or Docker, you can point Coolify to the same repository. You will need to manually migrate your database dumps from Heroku PG to a Coolify-managed PostgreSQL instance using pg_dump.
Does Coolify support static sites? #
Yes. Coolify can deploy static sites (React, Vue, Next.js) using Nixpacks or by serving a static folder via its integrated proxy, making it a viable alternative to Netlify or Vercel.
How does Coolify handle backups? #
Coolify provides integrated backup tools for databases, allowing you to schedule snapshots to be sent to S3-compatible storage. This is a critical step for any self-hosted PaaS setup to prevent data loss.
Final Verdict & Editorial Rating #
Coolify is a powerhouse for the "Sovereign Developer." It successfully democratizes the PaaS experience, allowing anyone with a $5 VPS to enjoy the luxury of automatic deployments and SSL management. While it cannot compete with the "zero-ops" nature of Railway or the enterprise scale of AWS, it occupies the perfect middle ground for freelancers, startups, and hobbyists.
The primary trade-off is the shift in responsibility. You are no longer paying for the convenience of someone else managing the hardware; you are paying for the freedom of owning your stack. For those building agentic workflows or complex apps—perhaps utilizing frameworks analyzed in our Agent Native Review (2026): Best Framework for Agentic Apps?—having a self-hosted environment allows for much tighter control over environment variables and resource allocation.
Who should use Coolify?
- Developers tired of "sleeping" dynos or expensive PaaS pricing.
- DevOps engineers who want a GUI to manage multiple small-to-medium VPS instances.
- Teams that require data sovereignty and want to keep their apps on their own hardware.
Who should avoid it?
- Absolute beginners who are intimidated by the concept of a VPS or SSH.
- Enterprise companies requiring 99.99% SLAs backed by a corporate legal agreement.
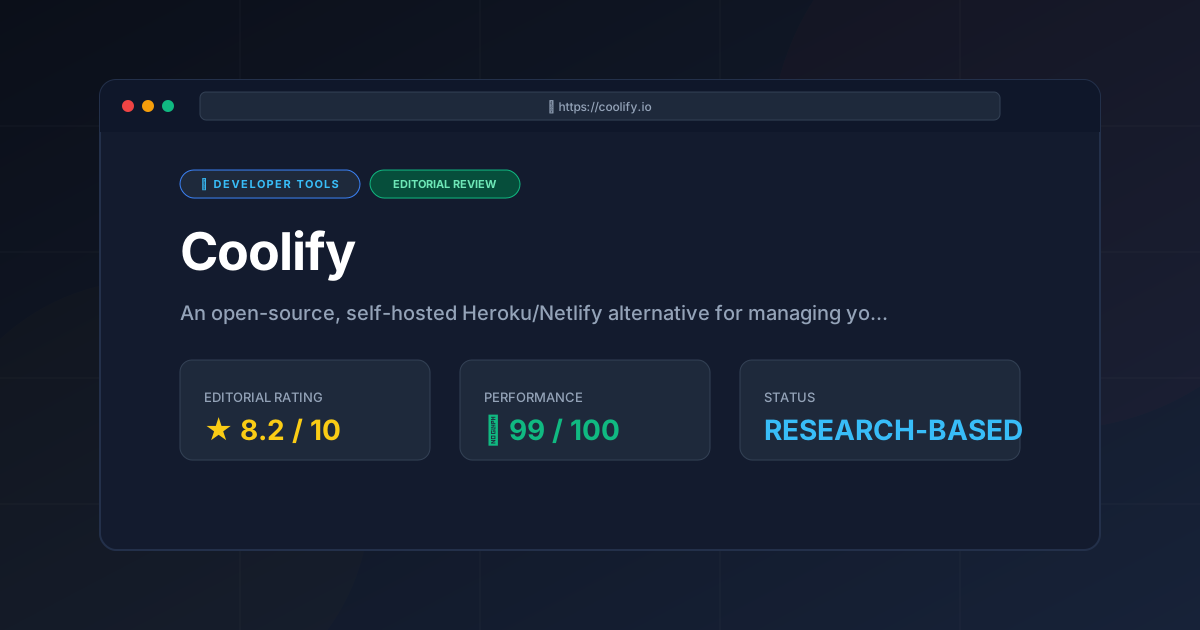
Editorial Rating: 8.2/10 #
A stellar implementation of the self-hosted PaaS concept. It loses points only for the inherent risks of self-management and the occasional instability of a rapidly evolving open-source project. For further technical exploration, the public GitHub repository remains the best source for tracking new feature releases.
More Tools Worth Reading
Warp
Developer ToolsModern terminal Warp reimagines the CLI with AI and blocks. Discover if this Rust-based powerhouse can actually boost your dev productivity.

New Tool Reviews: What PulseTools Published in 2026
Developer ToolsNew tool reviews: a dated log of every review this site has published, newest first, with the category and depth of each one, written from published r...
Windsurf
Developer ToolsAgentic IDE Windsurf analyzed: discover how its flow-state AI and deep indexing can accelerate your coding workflow. Read the full technical review.