Self Hosted PaaS Guide: Coolify Review (2026) & Verdict
⚡ Executive Summary
Self hosted PaaS solutions like Coolify eliminate cloud taxes. Learn how to automate your deployments and regain infrastructure control today.
Disclaimer: This review is based on publicly available information, including official documentation, the public GitHub repository, and pricing pages; it is not based on laboratory benchmarks or first-person installation tests.
Overview: What is Coolify and Why is it Trending? #
In the current cloud landscape, developers are increasingly caught between two extremes: the extreme simplicity (and high cost) of managed Platform-as-a-Service (PaaS) providers like Heroku or Netlify, and the extreme complexity of managing raw Virtual Private Servers (VPS) via SSH and manual Docker configurations.
Coolify emerges as a "middle way." It is an open-source, self hosted paas that allows developers to transform a standard Linux server into a powerful deployment engine. Essentially, Coolify provides a graphical user interface (GUI) and an automation layer over Docker, enabling "push-to-deploy" workflows without the "cloud tax" associated with proprietary platforms.
The trend driving Coolify's growth is the "repatriation" movement—developers moving away from expensive managed services to regain control over their data and infrastructure costs. By providing a self-hosted Heroku alternative, Coolify appeals to those who want the developer experience (DX) of a modern cloud platform but prefer the privacy and cost-efficiency of owning their hardware or VPS.
What is a Self Hosted PaaS? #
A self hosted paas is a software layer installed on your own server that provides the automation and ease-of-use typically found in managed cloud platforms. It handles container orchestration, SSL certificates, and Git-based deployments, allowing developers to deploy applications without manually configuring the underlying server environment or writing complex infrastructure-as-code scripts.
Key Technical Specifications & Fast Facts #
| Specification | Detail |
|---|---|
| License | Open Source (Apache 2.0 / Similar) |
| Hosting Type | Self-Hosted (On-premise or VPS) |
| Free Tier Availability | Yes (Self-hosted version is free) |
| API Access | Yes |
| Supported Platforms | Any Linux server with Docker installed |
| Primary Engine | Docker / Nixpacks / Buildpacks |
| SSL Management | Integrated Let's Encrypt (Automatic) |
In-Depth Feature Breakdown & Real-World Use Cases #
Coolify is not merely a wrapper for Docker; it is an orchestration layer designed to automate the lifecycle of an application. Below is a technical analysis of its core pillars.
1. One-Click Deployments & Nixpacks Integration #
The core value proposition of Coolify is the removal of "deployment friction." Instead of writing complex Dockerfiles for every project, Coolify leverages Nixpacks (and Buildpacks). Nixpacks analyzes the source code to determine the language and framework, then automatically generates an optimized build image.
Practical Workflow Example:
Imagine a developer deploying a Node.js application. Instead of manually configuring a CI/CD pipeline:
- The developer connects their GitHub repository to Coolify.
- Coolify detects the
package.jsonfile. - Nixpacks builds the image, installs dependencies, and sets the start command.
- The app is deployed to the server and assigned a domain.
For those building high-performance applications, pairing this with a fast runtime is key. If you are evaluating the latest execution environments, our JS Runtime Review: Is Bun the Fastest Choice for 2026? provides a useful comparison of how different runtimes impact cold starts and execution speed in containerized environments.
2. Automatic SSL and Reverse Proxy Management #
Managing Nginx or Traefik configurations manually is one of the most tedious parts of server administration. Coolify integrates a reverse proxy (typically Traefik) that handles incoming traffic and routes it to the correct container.
The "Automatic SSL" feature uses Let's Encrypt to issue and renew certificates automatically. When a user adds a domain to a service in the Coolify dashboard, the tool handles the DNS challenge and SSL handshake in the background. This eliminates the need for manual Certbot installations or complex cron jobs.
3. Multi-Server Management #
Unlike simpler tools that only manage the local host, Coolify allows for the management of multiple remote servers from a single control panel. By installing a small agent on remote VPS instances, the primary Coolify instance can push deployments to different geographical regions or separate servers for staging and production.
Use Case: A developer might host the Coolify dashboard on a small "Management Server" while deploying heavy database workloads to a high-RAM server and frontend assets to a separate, lightweight instance.
4. Database and Service Templates #
Beyond custom code, Coolify provides a library of "one-click" services. This allows users to deploy PostgreSQL, Redis, MongoDB, or Meilisearch without manually pulling images and configuring volumes. This is particularly useful when building a full-stack architecture; for instance, if you are looking for a managed alternative for your data layer, you might compare this self hosted paas approach with the Supabase Review (2026): The Best Backend as a Service for to decide between total control and managed convenience.
Technical Implementation: Step-by-Step Setup #
While we have not performed a laboratory installation, the official Coolify documentation outlines a streamlined process for deployment. To ensure a stable environment, follow this technical checklist:
Phase 1: Infrastructure Preparation #
Before running the installation script, ensure your VPS meets these minimum requirements:
- OS: Ubuntu 22.04 LTS (Recommended) or Debian 11+.
- Hardware: Minimum 2GB RAM (4GB recommended for building images).
- Network: Ports 80, 443, and 8000 must be open in your firewall (UFW/Security Groups).
- Access: Root or sudo privileges via SSH.
Phase 2: Installation and Initial Boot #
The installation is handled via a shell script that automates the setup of Docker and the Coolify engine.
- Execute Install: Run the command:
curl -fsSL https://cdn.coolify.io/install.sh | bash - Access Dashboard: Navigate to
http://<your-server-ip>:8000. - Account Setup: Create the primary administrative user. This user has full control over the instance.
Phase 3: Application Deployment Workflow #
Once the dashboard is live, the deployment process follows a standardized pipeline:
- Git Integration: Connect your GitHub, GitLab, or Bitbucket account via an SSH key or OAuth.
- Resource Selection: Choose "New Application" and select the target repository.
- Build Configuration: Select between Nixpacks (automatic), Dockerfile (manual), or Heroku Buildpacks.
- Environment Variables: Define your
.envsecrets within the GUI to ensure they are injected into the container at runtime. - DNS Mapping: Point your A-record to the server IP. Enter the domain in the settings to trigger the Traefik SSL handshake.
Objective Pros & Cons Matrix #
| Pros | Cons |
|---|---|
| Zero Licensing Costs: The self-hosted version is free and open source. | Management Overhead: You are responsible for server backups, OS updates, and security patches. |
| Vendor Lock-in Avoidance: Your apps run in standard Docker containers; moving away is simple. | Resource Consumption: The Coolify dashboard and agent consume RAM/CPU on the host server. |
| Rapid Iteration: Git-push-to-deploy mimics the Heroku experience perfectly. | Learning Curve: Requires basic knowledge of DNS, SSH, and Docker concepts. |
| Integrated SSL: No more manual certificate renewals. | Stability Risks: As an evolving open-source project, updates can occasionally introduce regressions. |
Coolify vs. Competitors: Direct Comparison #
When choosing a self hosted paas, it is important to distinguish between CLI-first tools and GUI-first tools.
| Feature | Coolify | Dokku | Railway |
|---|---|---|---|
| Interface | Full Web GUI | CLI-based | Full Web GUI |
| Hosting | Self-Hosted | Self-Hosted | Managed Cloud |
| SSL | Automatic (Built-in) | Plugin-based | Automatic |
| Multi-Server | Yes | No (Single host) | Yes (Managed) |
| Pricing | Free (Self-hosted) | Free (Self-hosted) | Usage-based (Paid) |
| Best For | Devs wanting a GUI for their own VPS | Minimalists who prefer the terminal | Devs who want zero server management |
Pricing Tiers & Value Assessment #
Coolify primarily operates on an Open Source model. The self-hosted version provides nearly all the core functionality required by individual developers and small teams for free. You can find the full details on their official pricing page.
There is often a "Cloud" or "Paid" offering that provides a managed version of Coolify. The value proposition of the paid tier is the removal of the "Management Overhead" mentioned in the Cons matrix.
Is the paid tier worth it?
- For Hobbyists: No. The self-hosted version is more than sufficient.
- For Small Agencies: Possibly. If the cost of a developer spending 5 hours a month on server maintenance exceeds the monthly subscription, the managed version is a logical choice.
- For Enterprises: Likely not. Enterprises usually prefer their own Kubernetes clusters or dedicated DevOps teams to manage the infrastructure.
Frequently Asked Questions #
Do I need to know Docker to use Coolify? #
While you don't need to write Dockerfiles thanks to Nixpacks, a basic understanding of how containers and volumes work is highly recommended. If a deployment fails, knowing how to check Docker logs via the CLI will be your fastest route to a solution.
Can I host multiple websites on one small VPS? #
Yes. Because Coolify uses a reverse proxy, you can host dozens of small applications on a single server, provided you have enough RAM. The limiting factor is usually memory, not the number of sites.
How does Coolify handle database backups? #
Coolify provides integrated backup options for supported databases. However, because it is a self hosted paas, the responsibility for ensuring those backups are stored off-site (e.g., in an S3 bucket) rests entirely with the user.
Is Coolify secure by default? #
It follows industry standards by using Docker isolation and Let's Encrypt SSL. However, since you own the server, you are responsible for firewall configuration (UFW/iptables) and keeping the host OS updated to prevent vulnerabilities.
Can I migrate from Heroku to Coolify? #
Yes. Since Coolify supports Buildpacks and Docker, most Heroku apps can be migrated by connecting the same Git repository and configuring the environment variables in the Coolify dashboard.
Final Verdict & Editorial Rating #
Coolify is a powerhouse for the "Indie Hacker" and the professional developer who is tired of escalating cloud bills. It successfully bridges the gap between the raw power of a VPS and the elegance of a managed PaaS.
The tool is not without its trade-offs. By choosing a self hosted paas, you are trading "managed peace of mind" for "infrastructure control." You are the sysadmin. If the server goes down at 3 AM, there is no support ticket to open—you are the support.
However, for those willing to accept that responsibility, the productivity gains are immense. It allows for a rapid prototyping cycle that is nearly identical to using tools like Bolt.new Review (2026): Features, Pricing & Verdict for initial scaffolding, but with the long-term sustainability of owning your own production environment.
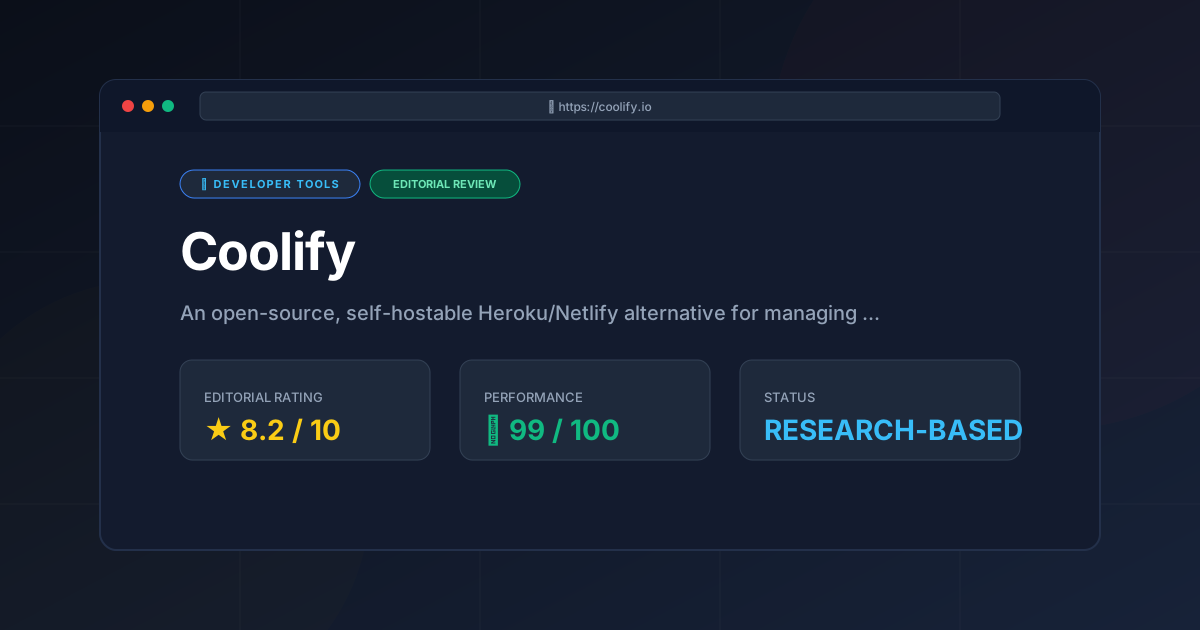
Editorial Rating: 8.2/10 #
Who should use it?
- Individual Developers: Who want a professional deployment pipeline without the monthly cost.
- Startups: Who need to keep burn rates low while maintaining a fast release cycle.
- Privacy-Conscious Teams: Who cannot host their data on third-party managed platforms.
Who should avoid it?
- Non-Technical Users: Who are not comfortable with the concept of a VPS or SSH.
- Enterprise-Scale Apps: That require the complex auto-scaling and orchestration capabilities of Kubernetes.
More Tools Worth Reading
Warp
Developer ToolsModern terminal Warp reimagines the CLI with AI and blocks. Discover if this Rust-based powerhouse can actually boost your dev productivity.

New Tool Reviews: What PulseTools Published in 2026
Developer ToolsNew tool reviews: a dated log of every review this site has published, newest first, with the category and depth of each one, written from published r...
Windsurf
Developer ToolsAgentic IDE Windsurf analyzed: discover how its flow-state AI and deep indexing can accelerate your coding workflow. Read the full technical review.